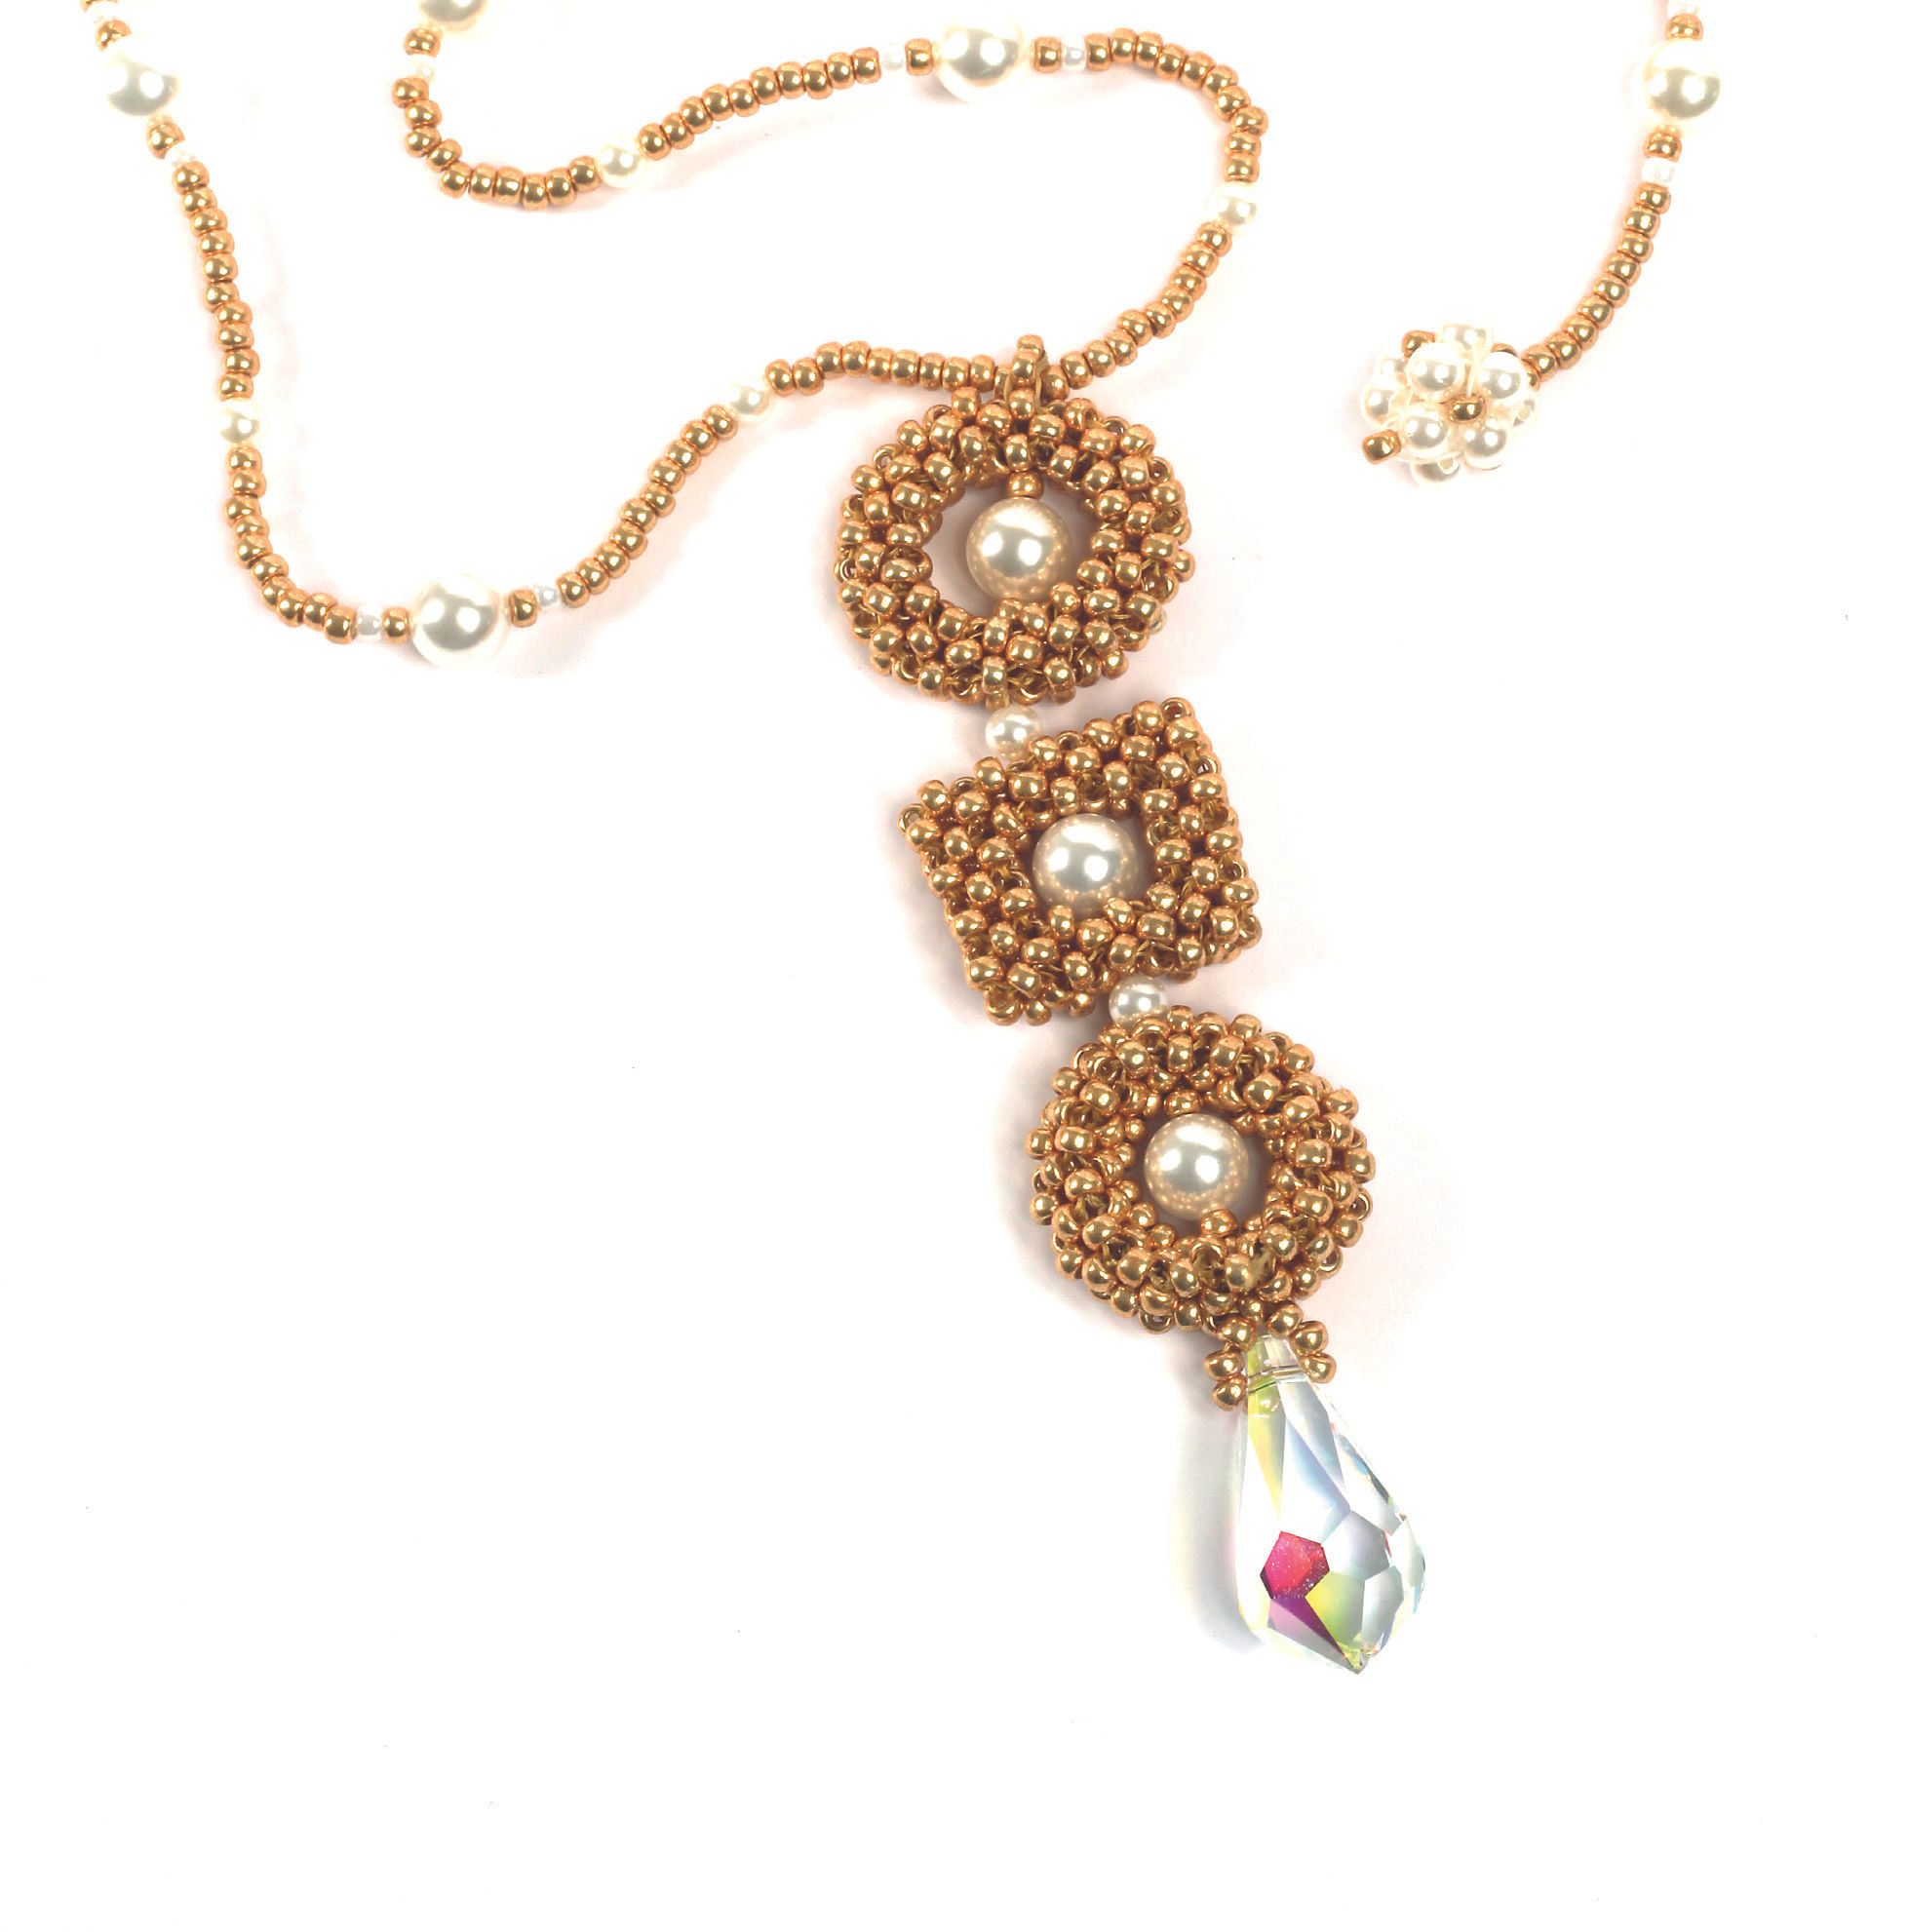
This is an excellent project for using up any left over beads. Using only seed beads and pearls you could make a frame whenever you have a spare couple of hours and before you know it you could have enough for a necklace, or simply two for a pair of earrings. Colour wise you can really have fun with this one. Go for a bright rainbow mix of seed beads for a real modern, stand out piece or keep it classic with
smooth metallic’s and pearls. Once you have the pattern in your head, try making bigger or smaller frames and use different size beads on the inside.

1. Pick up 4(A) and make a circle by going through the first (A) again. Reinforce by
going around again. Now tie a knot in end and working thread as this will create a cruciform shape as in Step 2.
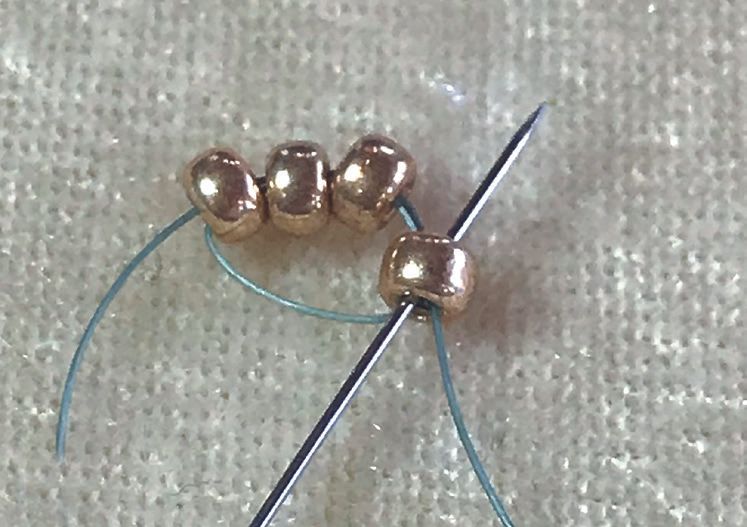
2. Work around to the side of cruciform and pick up 3(A), circle back on yourself to put in the next row and then go around the circle again to reinforce. This forms the pattern of FLAT Right and Weave (FRAW). We will be doing both FRAW and CRAW (cubic right angle weave) to achieve our frame.
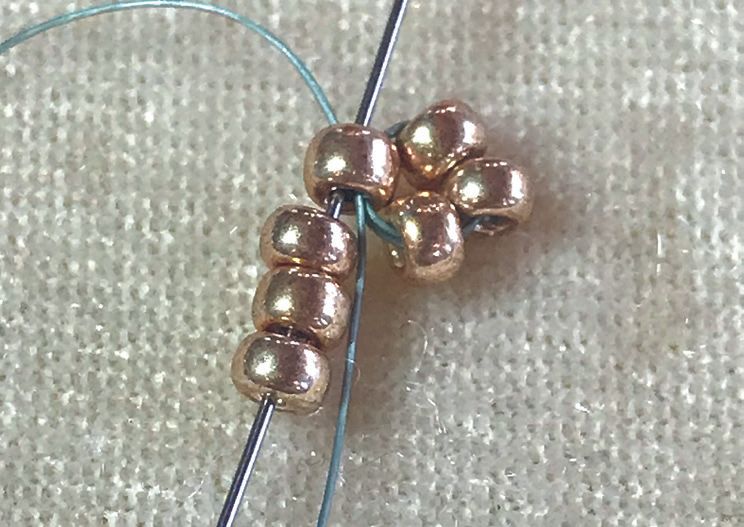
3. Work the FRAW stitch 7 times so you have a row where you can count 9 centre
beads.
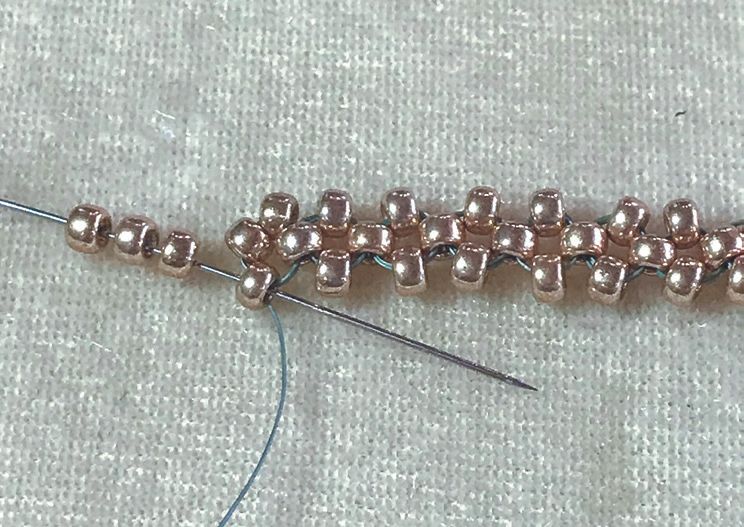
4. To do a turn in FRAW, you simply pick up 3(A), (as there is a pre-existing bead
in the previous row that forms the first bead in the group of 4) insert into the side bead and pull tight. Reinforce to avoid loose and gaping work. Work in FRAW to the end of the 7 stitches.
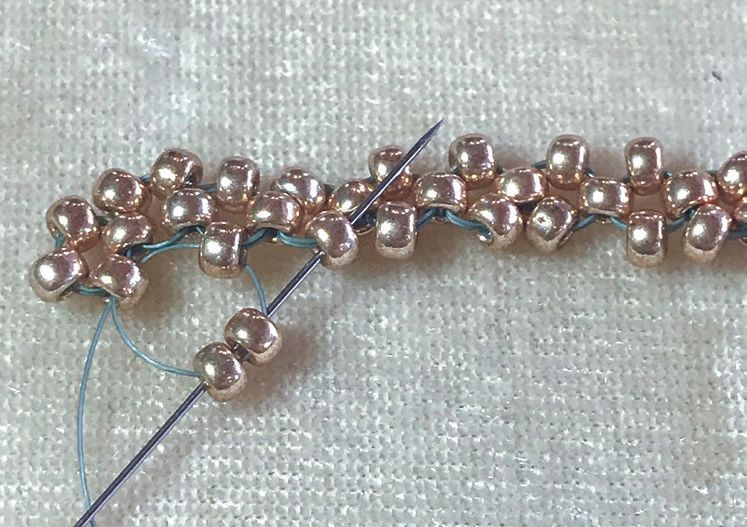
5. Turn again and work on the same 7 stitches back to the other end of the row.
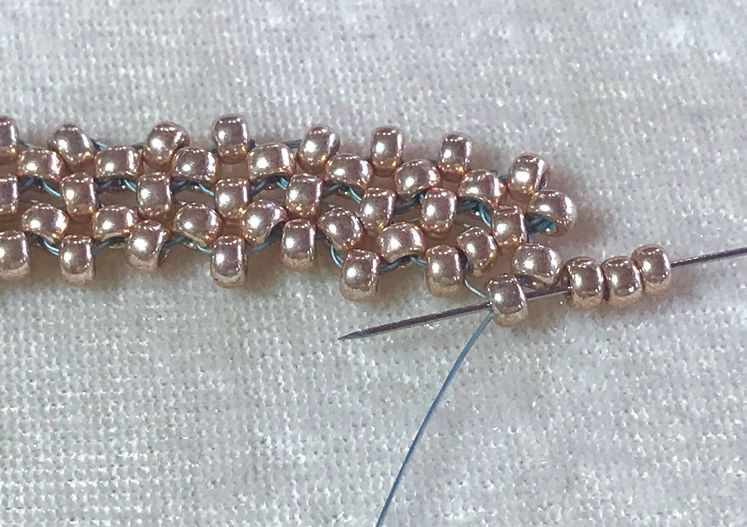
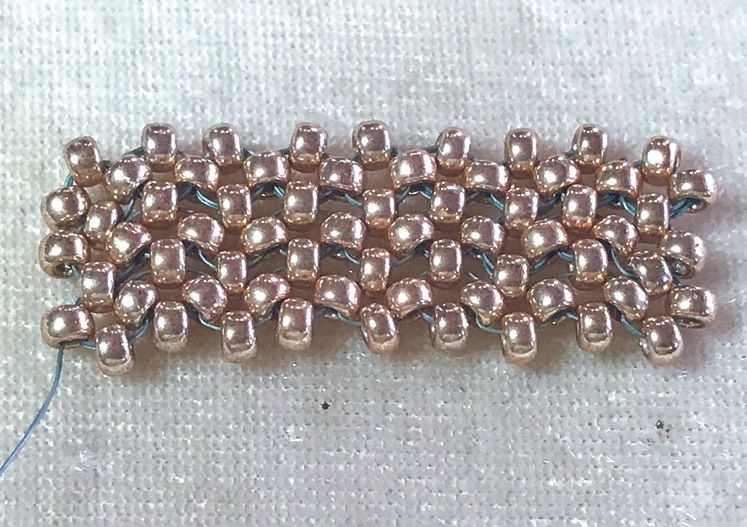
6. This is what your work will now look like. Exit the top bead, as we are now going to fold this little piece of FRAW to make it into a cube/circle shape.
7. I have inserted the white piece of paper so that you can see a clearer thread path. Pick up 1(A) and go through the correlating side bead on the opposite side of the piece of FRAW. Now pick up 1(A) and go back through the side (A) on the side you started on to join up the cross weave, as shown in step 8. Reinforce this step.
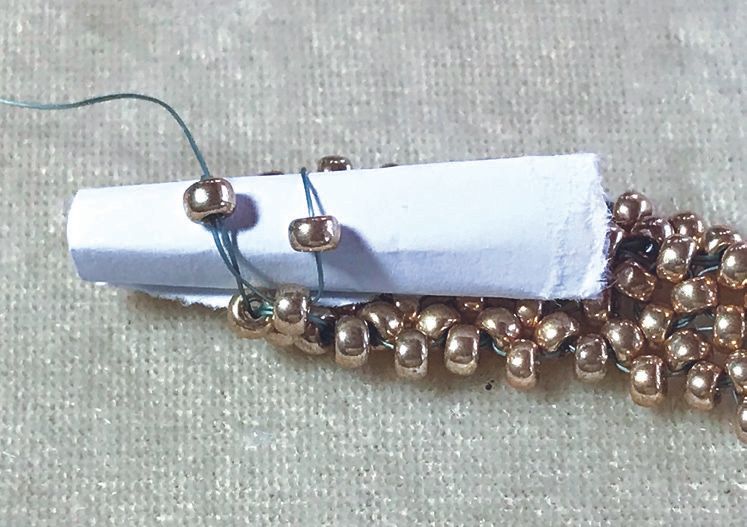
8. As you can see more clearly now where the beads are sitting. You will now need
to weave through to the next set of side beads as shown in Step 9.
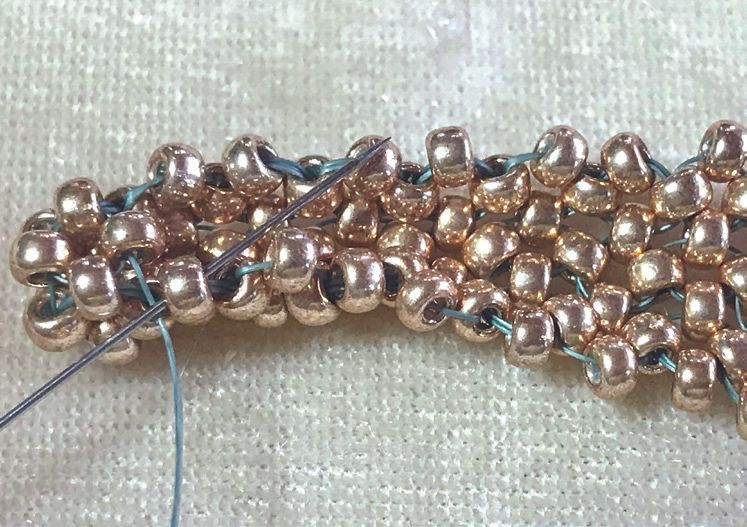
9. Zip up the whole piece of FRAW now, reinforcing as you go.

10. You will now have a role of FRAW which is a great way of starting off the frames. We are now going to start doing CRAW to provide the mitred corners that we need to make the frame. As you will see I have worked my needle to the back part of the cross of 4.

11. Pick up 3(A) and circle back into the bead you came out of - you are now building upwards. Exit from the side bead in the group of four with the needle pointing upwards. This is the first side you have now created.

12. You are now on the second side of the CRAW. Pick up only 2(A) and circle around to sew the cross shape again. To make the third side of the cross do the
same again.

13. I have laid the work on its side so you can see better. To put in the last bead in this first round of CRAW you will only need to pick up 1(A) as the other 3(A) are already there! You have just started to do CRAW. Work Step 11 – 14 for three more times.

14. I have stood up what looks like a leg of Beads! Work your needle through to the
back part of the cross again. The reason I work from the back most bead is that it is easier to work from the back most corner facing forwards.

15. Work step 11 – 14 again until you have created the ‘9 middle bead length’ (see
Step 11-14). to equal the other side you originally created in FRAW. You will then
have 3 sides of your frame.

16. Simply repeat Step 11 – 14 to make the final part of the frame.

17. In the joining the corner row shown here please observe that you will not need the same amount of beads to join the corner of the frame as you will have a number of PRE-EXISTING beads in place.

18. This is the second side – on the 4th side you will need no additional beads simply to zip the thread through all 4 beads that you will find are in place.
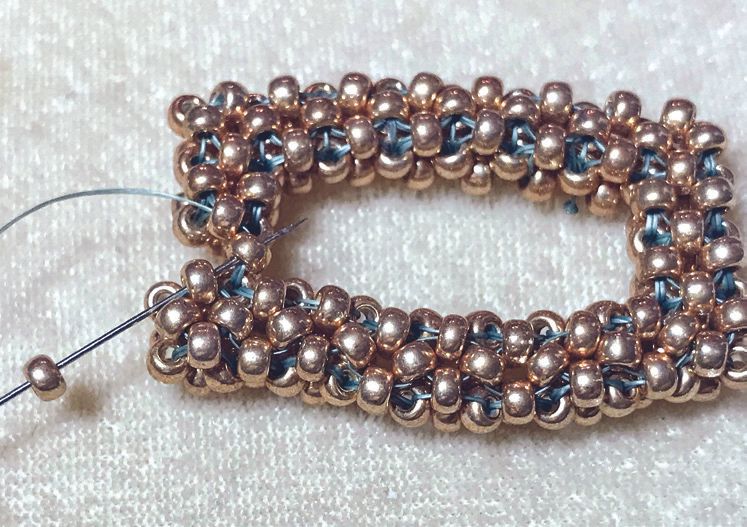
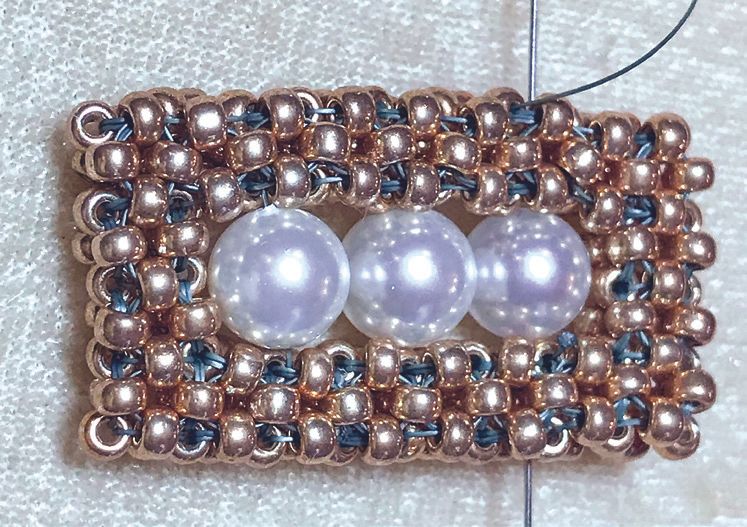
19. You have now completed the frame and are ready to insert your pearls. Work
thread to the second group of RAW along the side.
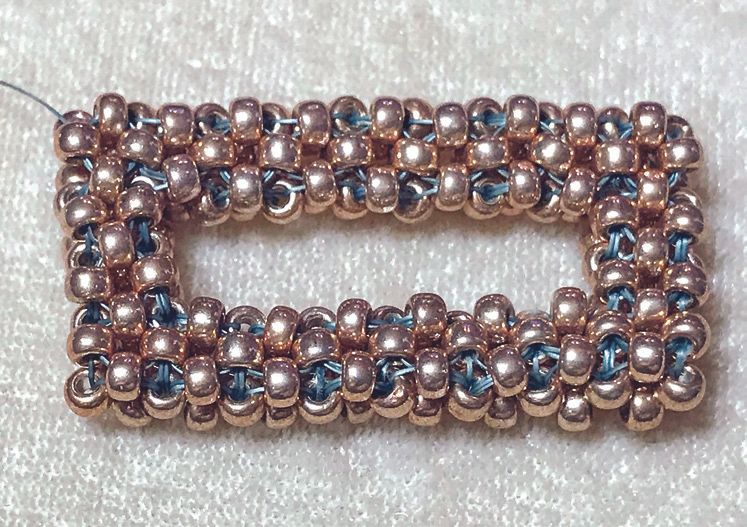
20. Put needle through the gap in the middle of the RAW and pick up 1(B) and go out the other side of the Frame. Carry on doing this at the appropriate intervals
which will depend on your tension on your frame.
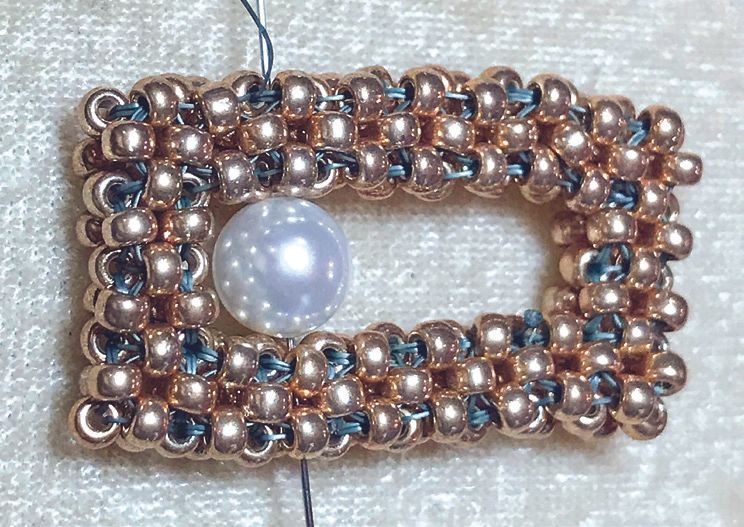
21. This shows the last (B) being sewn in. Thread back through the seed beads and
cut off remaining thread.
